
Vapor barrier installation is a crucial aspect of managing moisture in residential and commercial spaces, particularly in areas such as crawl spaces and basements. With the right methods, homeowners and contractors can effectively control humidity levels, minimize mold growth, and prolong the lifespan of structural components. In this comprehensive guide, we’ll explore the significance of vapor barriers, provide a detailed installation process, discuss common challenges, and answer frequently asked questions to empower you in optimizing your living environment. For a professional approach, consider Vapor Barrier Installation services.
What is Vapor Barrier Installation?
Understanding Vapor Barriers and Their Importance
A vapor barrier is a material used to resist the diffusion of moisture through walls, ceilings, and floors of a building. This is particularly vital in areas prone to high humidity, as excess moisture can lead to a host of problems including mold growth, wood rot, and damage to insulation. Vapor barriers act as a shield, preventing moisture from penetrating and damaging these vital components, thereby contributing to the overall health of the structure.
Key Benefits of Vapor Barrier Installation
Implementing a vapor barrier offers numerous advantages. Firstly, it helps maintain consistent indoor humidity levels, which is beneficial for the respiratory health of occupants. Secondly, it can enhance energy efficiency by preventing the intrusion of outside moisture, which can compromise heating and cooling systems. Additionally, vapor barriers can extend the lifespan of foundation elements and reduce maintenance costs by mitigating water-related damage.
Types of Vapor Barriers Available
Vapor barriers come in various materials and thicknesses. Common options include:
- Plastic Sheeting: A popular choice due to its affordability and ease of installation.
- Foil Barriers: Excellent for high-temperature climates, as they reflect heat and moisture.
- Paint-on Barriers: Applied like paint, these provide an effective barrier without the bulk of sheeting.
Choosing the right type depends on the specific environmental conditions and the area of application.
Steps for Proper Vapor Barrier Installation
Preparing the Crawl Space or Basement
The key to a successful vapor barrier installation lies in thorough preparation. Begin by clearing the area of debris and any existing moisture. Check for standing water, leaks, or signs of pest infestation, and address these issues before proceeding. It’s essential to ensure the ground is clean and dry, as moisture sources can significantly undermine the effectiveness of the installed barrier.
Essential Tools and Materials Needed
Having the right tools and materials is critical for efficient installation. Key items include:
- Vapor barrier material (plastic sheeting, foil, etc.)
- Utility knife for cutting
- Tape measure for accurate dimensions
- Construction adhesive or tape for securing edges
- Safety gear (gloves, mask, knee pads)
- Optional: seaming tape for overlap connections
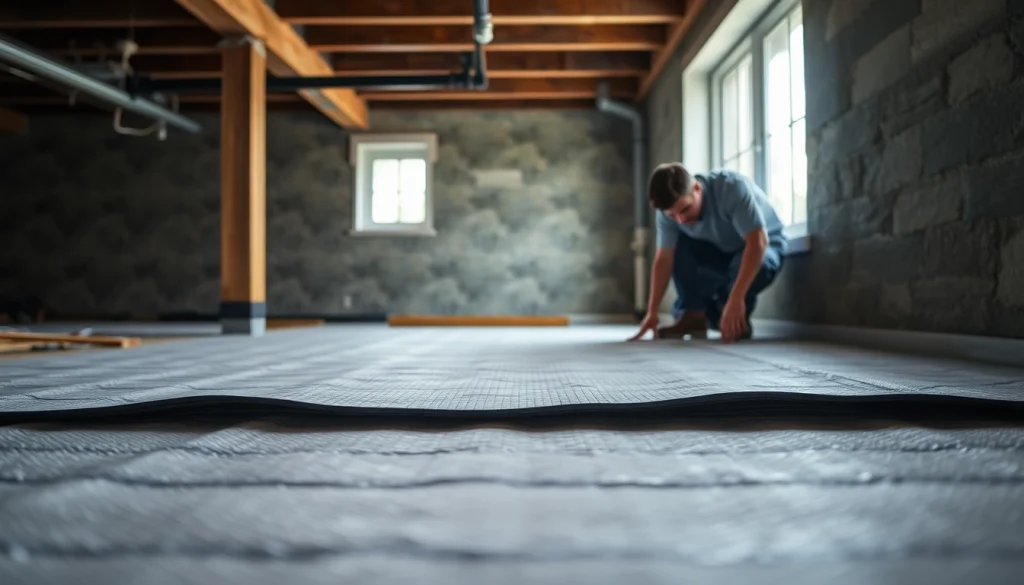
Installation Techniques: Step-by-Step Guide
1. Measure and Cut: Measure the area where the vapor barrier will be installed and cut the material accordingly, allowing for overlaps.
2. Lay the Barrier: Starting from one corner, lay down the vapor barrier, ensuring it overlaps walls and adjacent sheets by at least 12 inches.
3. Secure the Barrier: Use construction adhesive or tape to secure the edges to prevent moisture from seeping underneath.
4. Seal Any Gaps: Pay attention to seams or joints and seal them with tape, ensuring a watertight connection.
5. Inspect Your Work: Before finishing, inspect the installation to ensure it is tight against the ground and walls, devoid of any gaps.
Common Challenges in Vapor Barrier Installation
Identifying Moisture Sources in Your Space
One of the most pressing challenges in vapor barrier installation is identifying existing moisture sources. Common culprits include plumbing leaks, inadequate drainage systems, and groundwater seepage. Conduct a thorough inspection of the area, paying close attention to damp spots or water stains that may indicate underlying problems.
Addressing Obstacles During Installation
During installation, you may encounter obstacles such as uneven ground or existing constructions like support beams. If you face a hurdle, consider using patches of material to creatively navigate around these obstacles while ensuring a continuous barrier is maintained. Alternatively, use smaller sheets connected with tape to cover any gaps.
Troubleshooting Post-Installation Issues
After installation, continue monitoring for potential problems. If moisture appears above the barrier, it could indicate insufficient sealing or an unresolved moisture source. Address these issues by reinforcing the edges and ensuring proper ventilation in the area.
Maintenance and Inspection of Vapor Barriers
Scheduling Regular Inspections
To ensure the integrity of your vapor barrier, it’s crucial to schedule regular inspections. At least once a year, check for any signs of wear, gaps, or moisture intrusion. Early detection of problems can save significant repair costs down the line.
Signs Your Vapor Barrier Needs Attention
Watch for these warning signs that indicate your vapor barrier may need maintenance:
- Visible tears or holes in the material
- Signs of mold or mildew nearby
- Increased humidity levels in the crawl space or basement
- Water pooling beneath the barrier
Repairing vs. Replacing Vapor Barriers
Depending on the degree of damage, you might be able to repair the vapor barrier rather than replacing it entirely. Small tears can generally be patched with tape or adhesive. However, if the barrier shows extensive deterioration or if there are underlying moisture issues, replacement may be necessary to ensure optimal effectiveness.
FAQs about Vapor Barrier Installation
How do I choose the right vapor barrier for my home?
Consider factors like thickness, material type, and your specific environment for maximum effectiveness.
Can I install a vapor barrier myself?
Yes, with the right tools and knowledge, homeowners can install vapor barriers, but professional guidance is recommended.
What areas of the home require vapor barrier installation?
Typically, crawl spaces, basements, and any moisture-prone area should have a vapor barrier to prevent damage.
How long does a vapor barrier last?
A well-installed vapor barrier can last 15 years or more, depending on environmental conditions and installation quality.
Will a vapor barrier help with energy efficiency?
Yes, effective vapor barrier installation can improve energy efficiency by preventing moisture-related issues that affect insulation.